VIEW THE POST
Wedding Planner / Designer Pocketful Of Plans Wedding Photographer Megan Welker Wedding Venue Tehama Golf Club Wedding Flowers Fionna Floral Wedding Videographer Hugo Film Co. Vintage Drink Cart: Bubbles and Brews SF Wedding Caterer Tehama Golf Club Wedding Cake Red’s Donuts Wedding Invitations Minted Wedding Hair & Makeup M.U.A.H. Band: Johan Soltero Wedding Band Kelly Productions Wedding DJ Belmont Entertainment Second Dress: Reformation Wedding Dress Monique Lhuillier Wedding Shoes Jimmy Choo Bridesmaid Dresses Reformation Wedding Suits & Tuxedos Mike Langmack Wedding Rings R.f. Moeller Jeweler
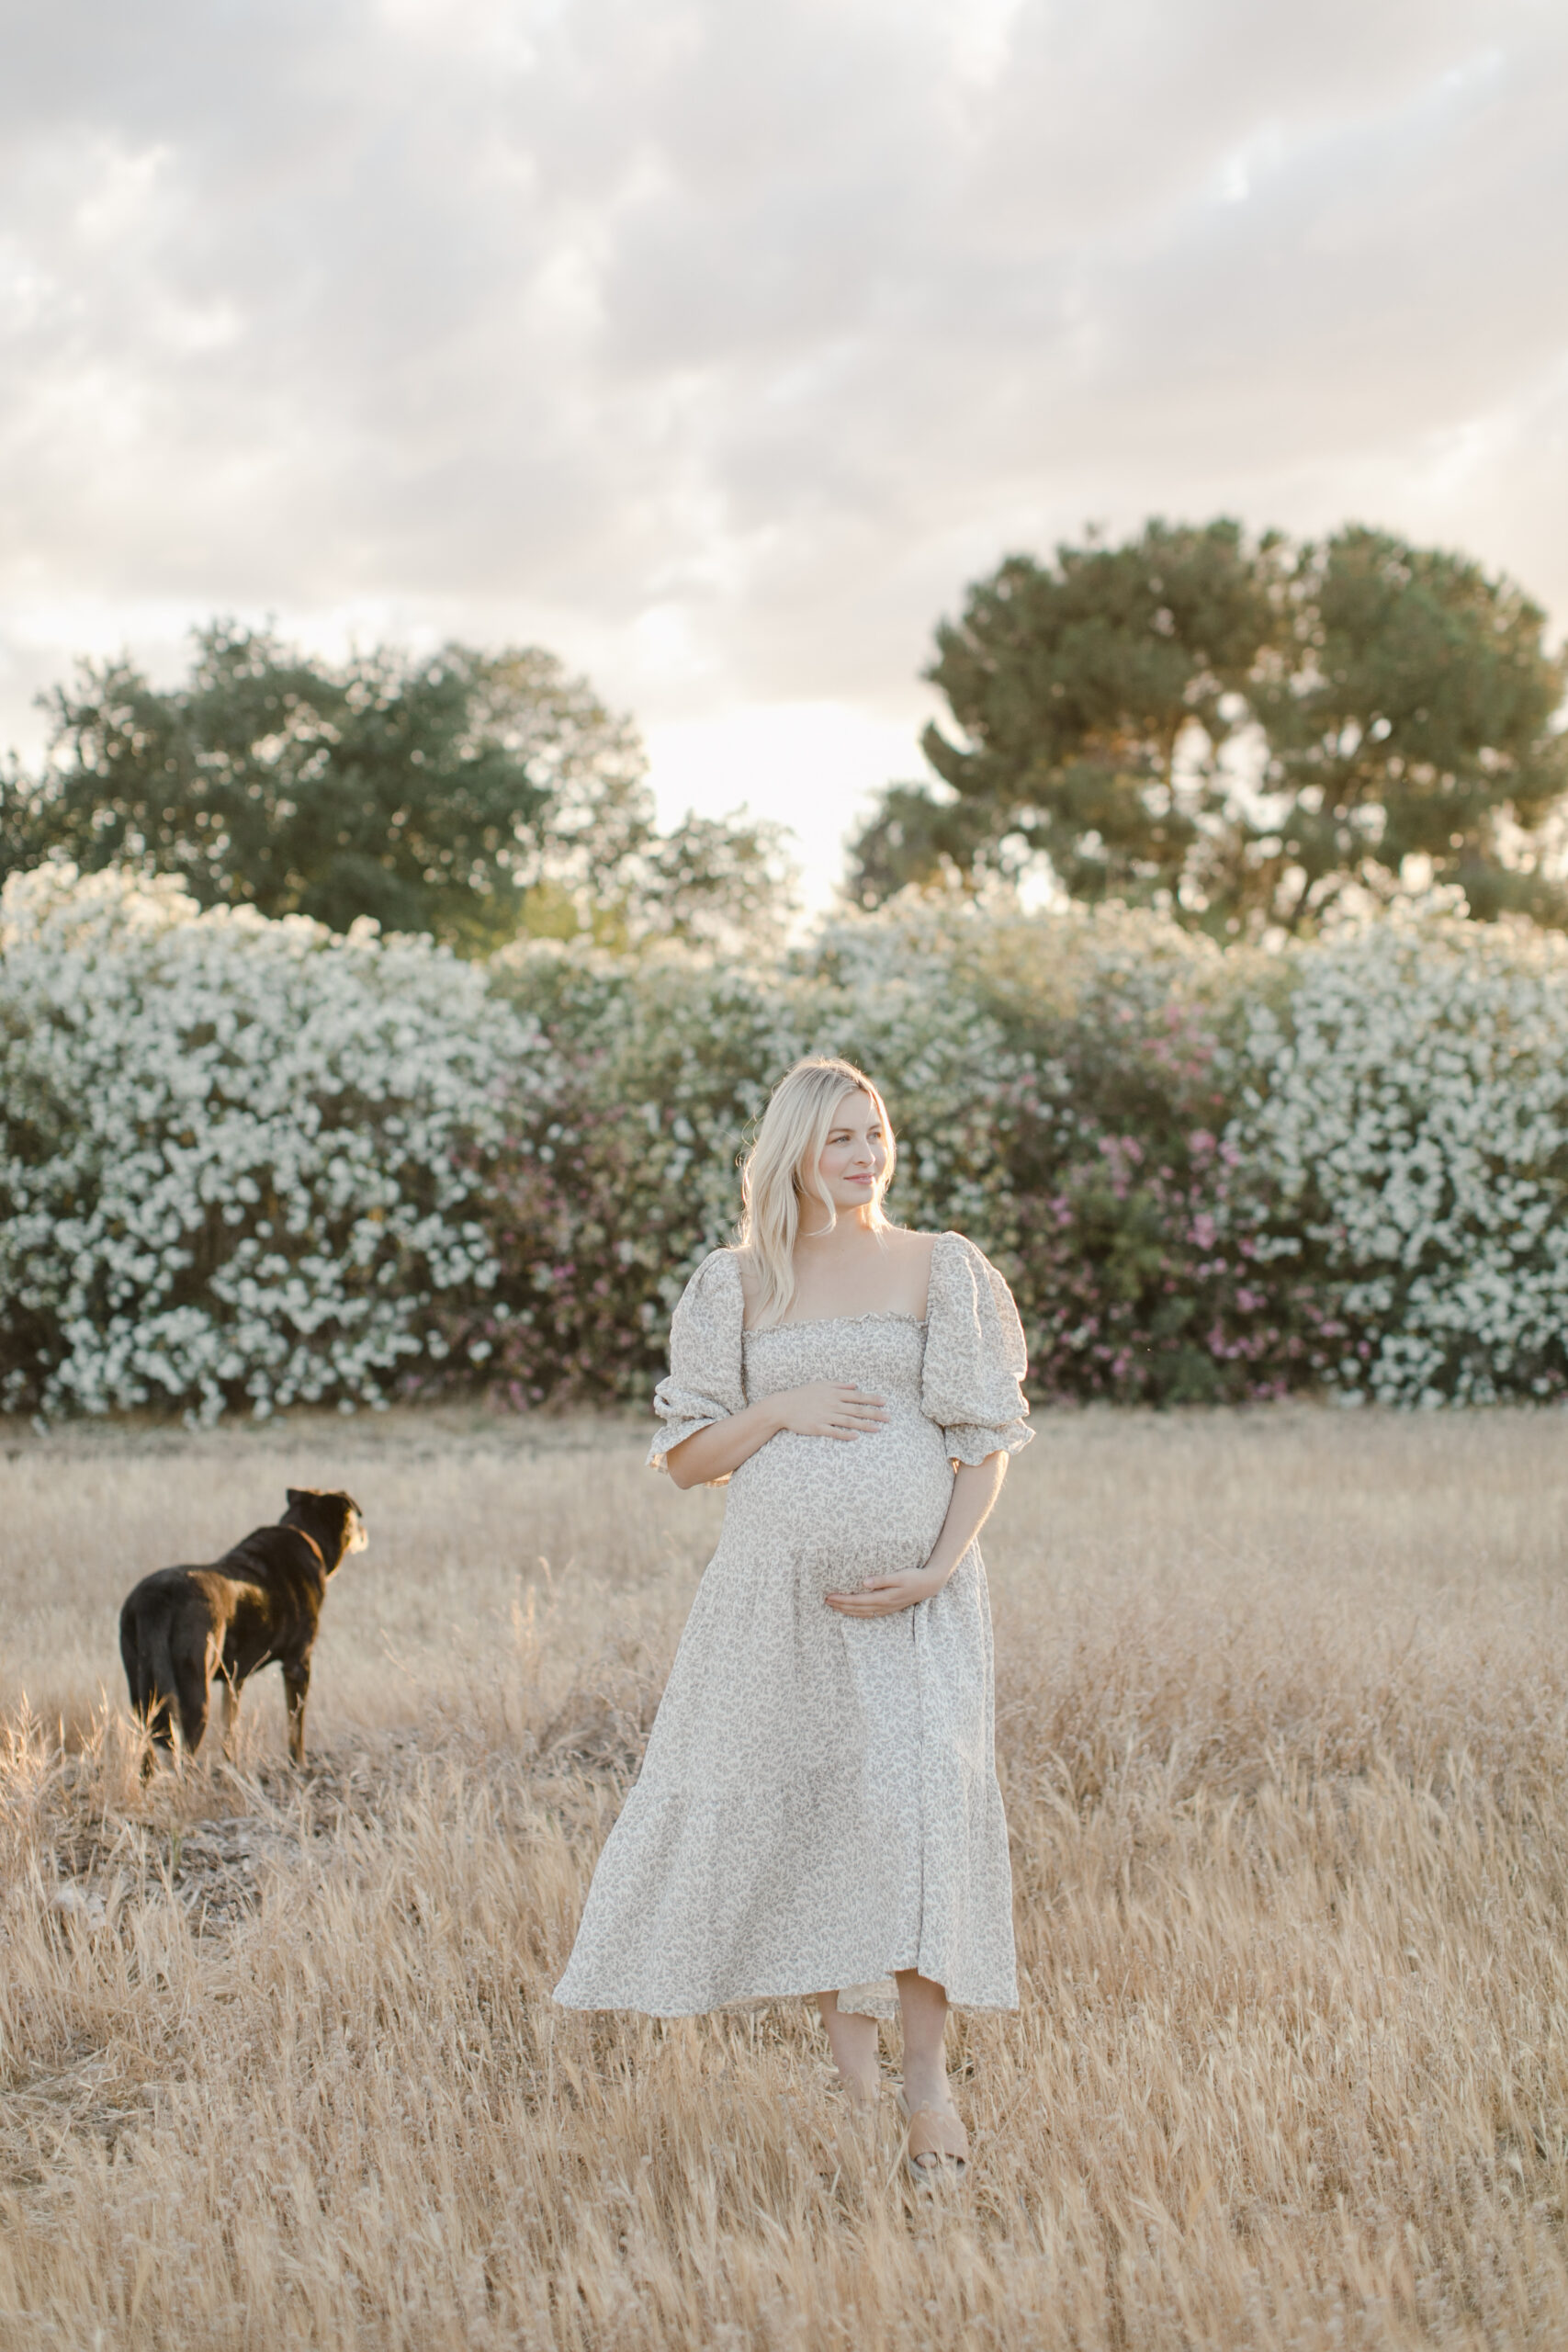
Audrey & Justin / Tehama Golf Club Wedding
featured post

VIEW THE POST
Wedding Planner / Designer Pocketful Of Plans Wedding Photographer Megan Welker Wedding Venue Tehama Golf Club Wedding Flowers Fionna Floral Wedding Videographer Hugo Film Co. Vintage Drink Cart: Bubbles and Brews SF Wedding Caterer Tehama Golf Club Wedding Cake Red’s Donuts Wedding Invitations Minted Wedding Hair & Makeup M.U.A.H. Band: Johan Soltero Wedding Band Kelly […]

VIEW THE POST
Photography : Megan Welker Photography | Videography: Eastbourne Films | Wedding Planner : Samantha Dapper Event Design | Florist : Ella Mah | Wedding Dress: Sarah Seven | Church: Cathedral Our Lady of the Angels | Shoes : Stuart Weitzman | Catering : The Gauchos Catering | Tuxedo : The Black Tux | Photobooth : Flipbook LA | Getting Ready Location : Hotel Figueroa | Beauty : Lauren Partida | Millwick LA: Marvimon | Bartending: Mr. […]

VIEW THE POST
Photography: Megan Welker / Videography: Reeh TV / Venue: Biddle Ranch in San Luis Obispo, CA / Design & Planning: Beijos Events / Florist: Clover & Branch / Hair & Makeup: The Wedding Beauty Collective / Calligraphy: POPPYjack Shop / Desserts: Paper Cake Events / Catering: Zest It Up / Rentals: Central Coast Tent & […]